BY-PASS / PUMP AROUND PROCEDURE:
TO BE PERFORMED AFTER INITIAL
STAFFING AND EQUIPMENT
REQUIREMENTS HAVE BEEN
DETERMINED:
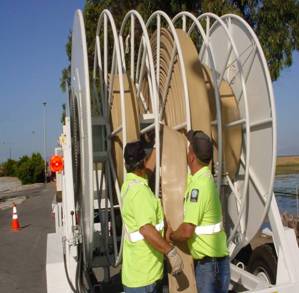
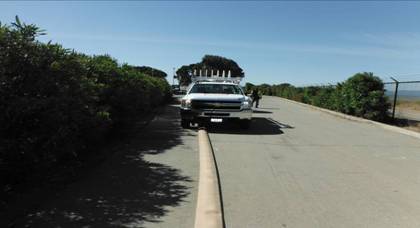
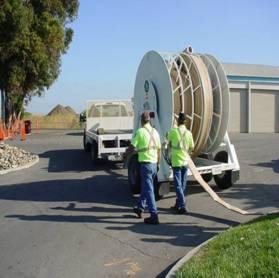
(consider hose routing vs. pedestrian/vehicle traffic impact) (picture # 1)
(vac-con may be used to assist in clean-up if required)
(consider hose routing vs. pedestrian/vehicle traffic impact)
·
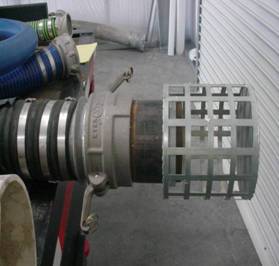
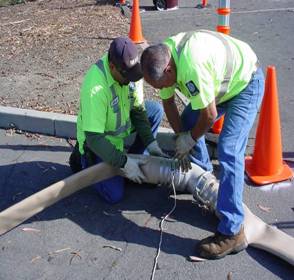
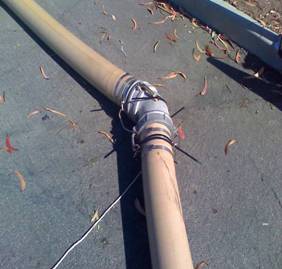
Connect the basket strainer to the suction hose.
(make sure to zip tie the cam-lock arms)
(see picture # 3)
·
Connect the suction hose to the suction side of
the by-pass pump.(see picture # 4)
manhole to be pumped from.
TO BE PERFORMED AFTER BY-PASS PUMP HAS BEEN POSITIONED
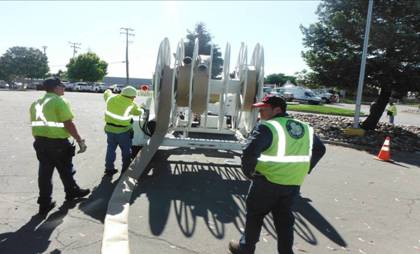
· Uncouple the pump trailer from the tow vehicle.
· Position the tow vehicle safely out of the way.
·
Place cones and/or barricades as needed for
safety.
TO WATCH VIDEO CLICK
ON THE PHOTO ABOVE
TO BE PERFORMED AFTER PUMP AND SUCTION HOSE ARE POSITIONED:
·
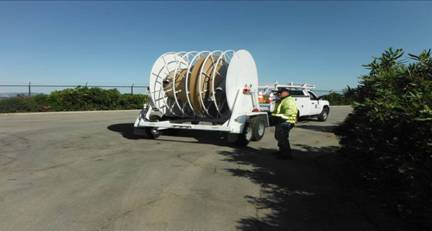
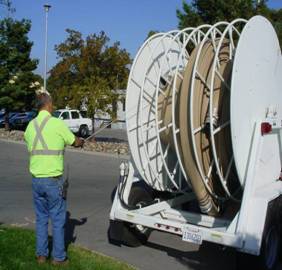
Position the discharge hose reel trailer near
the discharge outlet of the by-pass pump. (see picture # 5) Ensure tow vehicle has auto transmission.
·
Determine which cam lock fitting to be used on
suction.
·
Connect the first section of discharge hose to
the discharge of the by-pass pump. (see picture #6)
·
Start the auxiliary engine on the discharge hose
reel trailer. (see hose reel S.O.P.)
·
Move the in/out lever to the out position to pay
out the discharge hose. (see hose reel S.O.P.)
·
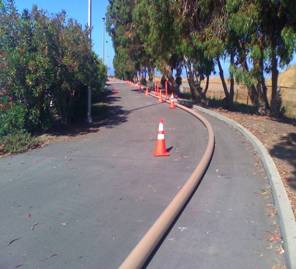
While paying out the discharge hose tow the hose
reel slowly toward the discharge point.(see picture # 7)
TO WATCH VIDEO CLICK ON PHOTO ABOVE
TO
BE CONTINUED AFTER A SECTION OF DISCHARGE HOSE HAS BEEN POSITIONED
·
Connect the next hose section or elbow and
continue as needed and secure. (see pictures #8
)
·
When the discharge point has been reached secure
the end of the discharge hose prior to energizing the hose. (tie off with rope,
secure with sand bags, etc.)
·
Determine if containment is needed for
break-down /clean-up after by-pass.
(vac-con may be used to assist in clean-up if required)
TO WATCH VIDEO CLICK PHOTO
ABOVE
TO BE PERFORMED AFTER DISCHARGE
HOSE HAS BEEN ROUTED AND SECURED:
·
After the discharge hose has been secured, start
the by-pass pump according to the pump S.O.P.
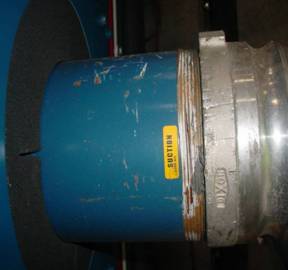
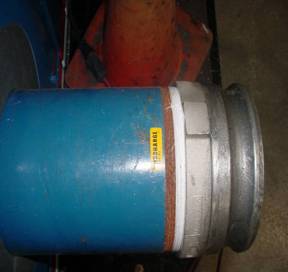
·
After starting the pump, walk the length of the
discharge hose to ensure there are leaks in the hose and/or cam lock fittings.(see
pictures # 9 & # 10)
·
Slowly increase the by-pass pump R.P.M.’s
(ensure there are no kinks or leaks)
·
Continuously monitor suction point and discharge
points to ensure desired performance is achieved. (do not allow by-pass pump to
run dry as damage will occur)
TO WATCH VIDEO CLICK PHOTO
ABOVE
TO BE PERFORMED AFTER BY-PASS
HAS BEEN COMPLETED:
·
If a suitable fresh water supply is available,
purge the by-pass pump and discharge hose. (ensure that contaminated liquid
drains to a suitable location.)
·
After required by-pass and/or purging have been
completed, disconnect the discharge hose at highest point in the run and ensure
that waste and water drain out to a safe location. (containment or vac-con may
be required for clean-up)
·
Begin disconnecting the assembled sections of
discharge hose and re-spool on the by-pass hose reel. (make sure to rewind hose
on the appropriately marked section of the by-pass reel.) (see picture # 11)
TO WATCH VIDEO CLICK ON PHOTO ABOVE
BY-PASS/ PUMP AROUND PROCEDURE PHOTOS
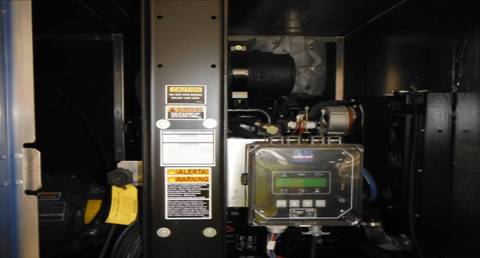
PICTURE # 1 PICTURE # 2
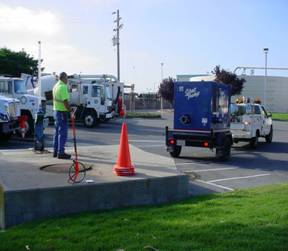
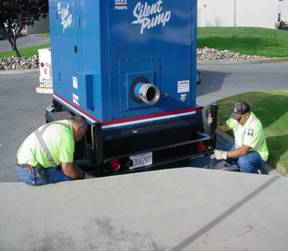
PICTURE # 3 PICTURE # 4
PICTURE # 5
PICTURE # 6
PICTURE #7 PICTURE #8
PICTURE #9 PICTURE # 10
PICTURE # 11