TURBO III ADJUSTABLE CHAIN CUTTER
S.O.P.
TO BE PERFORMED AFTER J.S.A. AND AFTER SAFETY GUIDELINES HAVE BEEN READ.
Basic Operation:
1. Prior to each use ensure that the cutter head is firmly tightened.
2. Ensure that the guide skid is appropriate for the size of the line to be cleaned.
3. To ensure proper rotation, make sure chains are of equal length.
4. Check that all securing bolts are tight prior to use.
5. Use the cutter against the flow of the sewer, towards the upstream manhole, in order to remove the obstruction from the line.
6. If only a hissing sound can be heard, pull the cutter back a little to regain cutting head momentum. Repeat this process as needed until the obstruction is removed or the cutter passes freely to the next obstruction.
7. Never ram the cutter to pass offsets or pipe deformations. Retrieve the cutter and reduce the skid width as needed. If this does not work reduce the chain width according to the S.O.P.
8. Periodically ensure that the cutter and connections are still tight.
9. If the cutter does not appear to be functioning properly, or if you no longer hear the turbine wining noise, bring the cutter back to the manhole to ensure there are no roots caught in the head.
10. To prevent damage to the adjustable cutter skid, Turn off the water approximately 5 feet from the manhole, pull the cutter out by hand. To prevent damage to the swivel do not pull up on the hose until the cutter is completely out of the manhole.
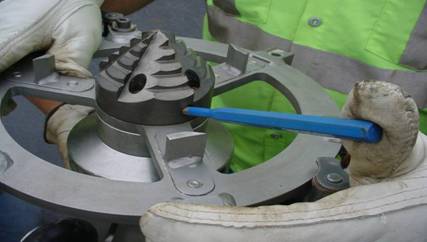
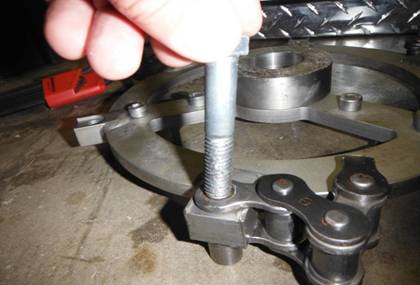
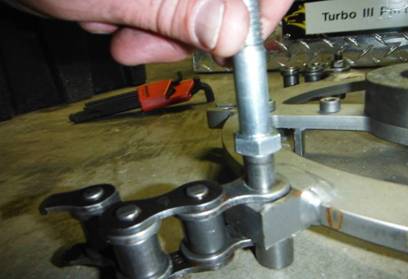
ADJUSTING THE FLEXIBLE GUIDE SKIDS
1. Rest the cutter on the cutting head
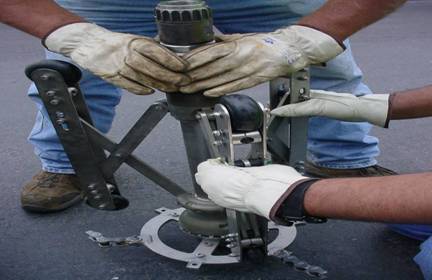
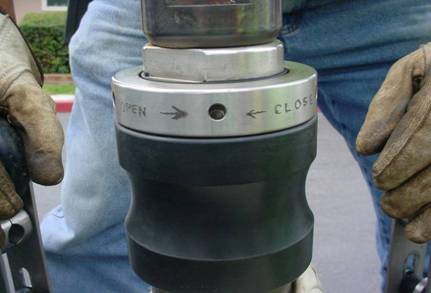
2. Use the punch to rotate the spindle to open/close the skid, by inserting the punch in the hole and turning.
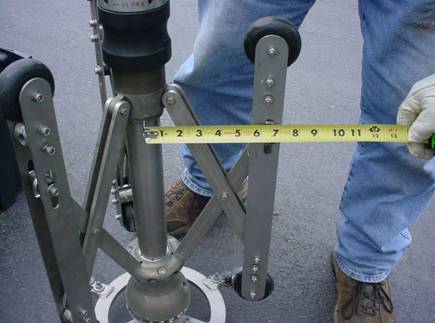
3. After adjusting the skid to the desired width, verify the measurement using a tape measure. Measure from a flat surface to the center of the cutter. Then double the measurement to get the overall diameter. Ex: if the radius is 8.00” the diameter will be 16.00”.
To watch the video click on the photo above:
INSTALLING THE STAINLESS STEEL WHEEL FOR LARGER DIAMETER LINES
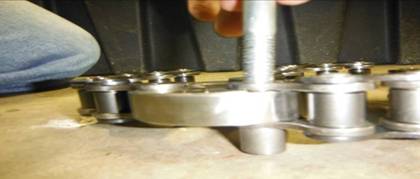
1. Start by loosening the set screws in the cutter head using the allen wrench.
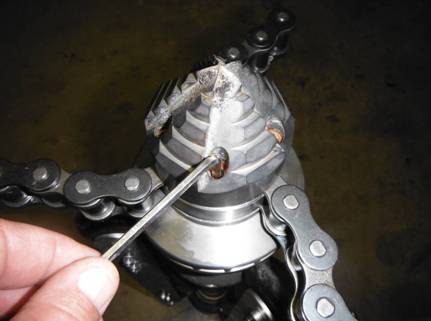
2. Remove the cutting head by placing the ¼” punch in the hole in the cutter head, and another in the hole in the chain retainer. Turn the punch in the cutter head counter-clockwise until loosened, complete removal by hand.
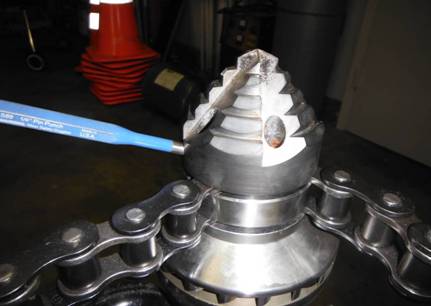
3. Remove the chain retainer.
4. Remove the chain washer and tension ring.
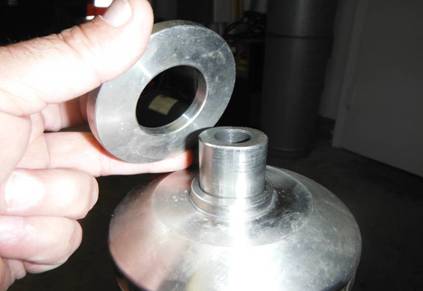
5. The cutter is now ready to accept the stainless steel wheel.
6. Place the stainless steel wheel over the center shaft.
7. Re-install the cutting head and tighten by using the punch to turn in a clock-wise direction.
To watch the video click on the photo above:
8. Re-tighten the set screws using the allen wrench.
9. Verify that all fasteners are tight.
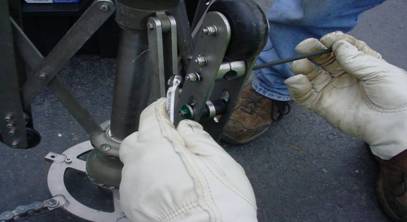
CHANGING THE CHAIN AT THE CHAIN RETAINER AND STAINLESS STEEL WHEEL
TO CHANGE THE CHAIN ON THE RETAINER:
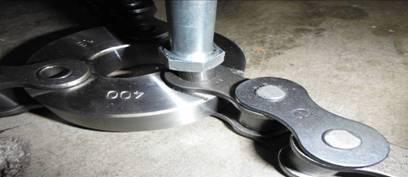
1. Place the chain retainer on a firm flat surface.
2. Place the socket under the chain retainer bushing.
3. Using the punch or bolt, knock the bushing out by tapping lightly with the hammer.
4. Remove the old/existing chain and set aside or discard.
5. Prepare a new piece of chain that is approximately ¼” shorter than ½ the diameter of the pipe.
6. Use the punch to knock the pin out of the end of the chain.
7. Then use the punch to carefully tap the bushing out of the end of the chain. (save for re-use)
8. Slide the open end of the chain into the chain retainer.
9. Secure the chain to the chain retainer by re-installing the bushing saved from the chain.
To watch the video click on the photo above:
10. Repeat as needed until all sections have been replaced.
11. Verify that all sections are of equal length and are properly sized for the line diameter.
TO CHANGE THE CHAIN ON THE STAINLESS WHEEL:
1. Place the stainless steel wheel on a firm flat surface.
2. Using the 6mm. allen wrench and the 13mm. open end wrench remove the bolt secure the end of the chain.
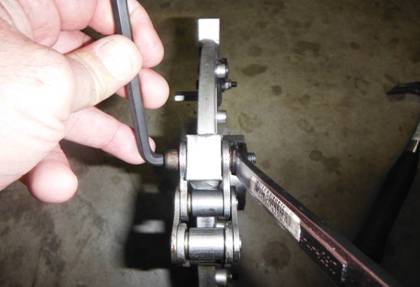
3. Place the socket under the bushing retaining the chain.
4. Using the punch gently tap out the bushing. (save for re-use)
5. Prepare the new piece of chain, or for changing lengths select one of the pre-fabricated sections. The pre-fabricated sections are clearly marked at the ends.
6. Slide the open end of the new section onto the stainless steel wheel.
7. Secure the new section of chain by re-installing the bushing saved for re-use.
To watch the video click on the photo above:
8. Re-install the nut and bolt and tighten using the allen wrench and open end wrench.
9. Repeat as needed until all sections have been replaced.
10. Verify that all sections are of equal length and are properly sized for the line diameter.
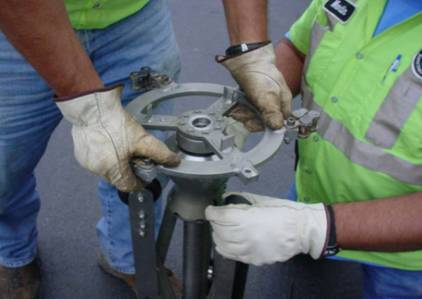
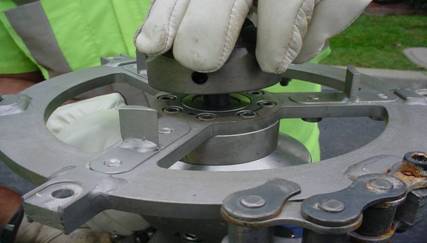
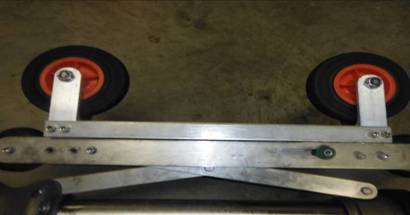
INSTALLING THE EXTENSION SKIDS
1. Loosen the extension skid clamp bolts using the 5mm. allen wrench and the 10mm. open end wrench. There are two on each rail.
2. Once both clamps on one rail are loosened it is now ready for the extension skid.
3. Turn the extension skid so the poles are pointing at the rail clamps.
4. Insert the extension skid poles into the circle created by the clamp halves until they are flush with the rails.
To watch the video click on the photo above:
5. Tighten the clamp nuts and bolts using the allen wrench and open end wrench.
6. Repeat steps 3 through 5 for each rail.